Quick answer
Empty one cabinet at a time and group items by how you actually use them. Keep heavy items low, everyday items at the front of easy-to-reach cabinets, and rarely used items up high or toward the back. Use a lazy Susan for corners, dividers for drawers, and a turntable or clear bins under the sink and in the pantry.
A cluttered kitchen cabinet is rarely a storage problem. It's usually a zoning problem — everything got put wherever there was space, instead of where it actually makes sense to use it. Fixing that takes an afternoon, not a renovation.
Step 1: empty one cabinet at a time
- Pick one cabinet, not the whole kitchen at once. Trying to do everything in one go is how organizing projects stall halfway through.
- Take everything out and wipe down the shelves while they're empty.
- Group what you removed into: things you use weekly, things you use occasionally, things you haven't used in over a year, and things that are broken, duplicated or expired.
- Be honest about the last two piles. A kitchen only holds so much, and the rarely used pile is usually bigger than people expect.
Step 2: assign zones by how you cook
Instead of organizing by category alone, organize by the task that happens near each cabinet:
- Cooking zone (near the stove): pots, pans, cooking utensils, oils and spices you reach for mid-recipe.
- Prep zone (near the counter you chop on): cutting boards, knives, mixing bowls.
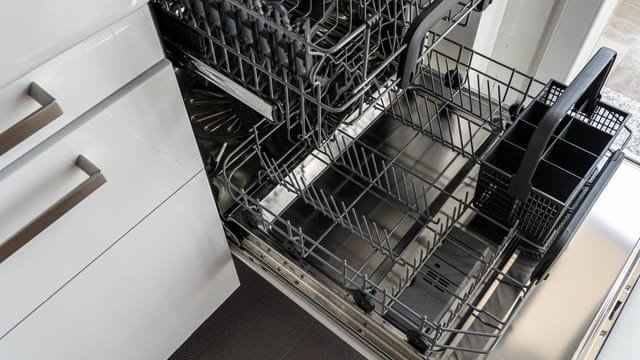
- Everyday dishes zone (near the dishwasher or sink): the plates, bowls and glasses you use daily, so putting away dishes is a short walk, not a trip across the kitchen.
- Baking zone: baking sheets, measuring cups and mixers, grouped together since they're usually used in the same session.
A kitchen appliance manufacturer's own organizing guidance backs this up: put the items you use most within easy reach, and keep the pieces you rarely touch, like large serving platters, higher up or further back.
Step 3: put heavy items low
Cast iron pans, stand mixers, large pots and anything awkward to lift belong in lower cabinets, ideally close to waist height. Reaching overhead for something heavy — and then lowering it back down — is one of the more common ways people strain their back or drop something in the kitchen. Save the top shelves for lightweight items: platters, vases, appliances you use twice a year.
Step 4: fix the corner cabinet
Corner cabinets are the most wasted space in most kitchens, because the back few inches are nearly impossible to reach without taking everything in front out first. A lazy Susan (a rotating turntable) or a pull-out corner organizer turns that dead zone into usable storage — you spin or pull, instead of reaching blind.
Step 5: use drawer dividers
A drawer with no divider turns into a pile within a week, no matter how it started. Adjustable dividers keep utensils, kitchen tools and junk-drawer items in their own lane, and they take seconds to adjust if you rearrange later.
Step 6: organize under the sink
This cabinet usually holds cleaning supplies, trash bags and bulky bottles that don't stack well. A couple of fixes make a real difference:
- Use a two-tier shelf or a tension rod to hang spray bottles by their trigger, freeing up the floor of the cabinet.
- Keep anything hazardous toward the back, and up and away from where a small child could reach if the cabinet is accessible to them.
- Add a shallow bin to catch drips from cleaning bottles instead of letting them sit directly on the cabinet floor.
Step 7: organize the pantry
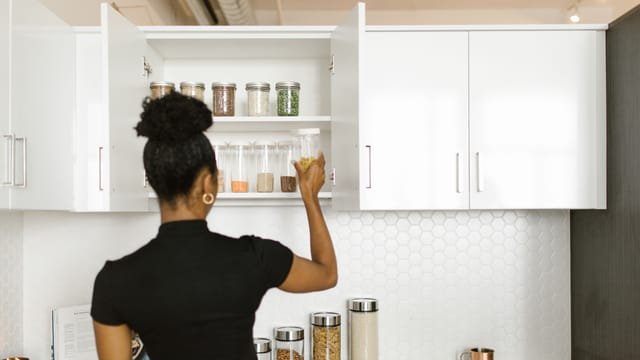
- Group food by type — baking, snacks, canned goods, grains — the same way you'd group a grocery store aisle.
- Put new purchases behind older ones so older stock gets used first.
- Store heavier pantry items, like large bags of flour or rice, at waist height rather than on a high shelf, for the same reason heavy cookware goes low.
- Use clear bins or baskets for loose items like snack bags, so a shelf doesn't become a pile of open bags leaning on each other.
The no-drill version for renters
None of this requires modifying the cabinets themselves:
- Adhesive-backed hooks and drawer dividers instead of screwed-in hardware.
- Freestanding risers and turntables that just sit on the shelf, no installation needed.
- Stick-on shelf liner to protect shelves and stop items sliding, removable when you move out.
- Stackable bins instead of built-in pull-outs, so the system moves with you.
Keep it from sliding back into chaos
Once every few months, take five minutes to put back anything that's drifted to the wrong cabinet, and toss anything expired from the pantry. A kitchen that's organized once and never revisited will look the same as before within a season.
Sources
Frequently asked questions
Where should heavy items go in kitchen cabinets?
Low, not high. Heavy items like cast iron skillets, stand mixers and large pots belong in lower cabinets, close to waist height if possible, since lowering something heavy from an overhead shelf is awkward and can strain your back.
What's the best way to use a corner cabinet?
A lazy Susan or a pull-out corner organizer makes the back of a corner cabinet usable instead of a dead zone most people forget about.
How do I organize kitchen cabinets without buying anything?
Take everything out, group it by how you use it, and put daily items at the front of the most accessible cabinets. You can reorganize an entire kitchen this way before buying a single bin.
Can I organize rental kitchen cabinets without drilling?
Yes. Use adhesive-backed dividers and hooks, freestanding risers and lazy Susans, and stick-on shelf liner instead of anything that needs screws.
This site may earn a commission from products linked here, at no extra cost to you.